How To Use <video> In Angular?
In this article, we will explore a safe and easy way to play, pause and stop the video from the camera as part of an Angular application. Also, some excellent features like taking pictures or video recording will be added.

To do that, we need to explore first some important concepts:
WebRTC (Web Real-Time Communication) is a technology which enables Web applications and sites to capture and optionally stream audio and/or video media, as well as to exchange arbitrary data between browsers without requiring an intermediary. The set of standards that comprise WebRTC makes it possible to share data and perform teleconferencing peer-to-peer, without requiring that the user install plug-ins or any other third-party software.
The Media Capture and Streams API, often called the Media Streams API or MediaStream API, is an API related to WebRTC which provides support for streaming audio and video data.
The MediaStream Recording API, sometimes referred to as the Media Recording API or the MediaRecorder API, is closely affiliated with the Media Capture and Streams API and the WebRTC API. The MediaStream Recording API makes it possible to capture the data generated by a MediaStream or HTMLMediaElement object for analysis, processing, or saving to disk. It’s also surprisingly easy to work with.
This recap was important because we are going to use APIs and methods that belong to those upper-mentioned concepts.
Attribute Directives
Angular provides three types of directives, but for this article, we are going to focus on attribute ones. From Angular’s documentation:
An Attribute directive changes the appearance or behavior of a DOM element.
Some good examples of those directives are those defined by the framework like CheckBoxControlValueAccessor that makes a native <input type=”checkbox”> compatible with ReactiveForms.
From now on, we are going to explore how to create an attribute directive that applies over HTML5 <video>. Adding streaming capabilities quickly.
HTMLVideoDirective
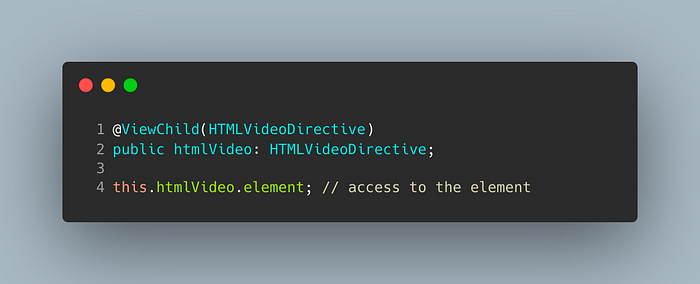
The first thing that we need is to be able to interact with the HTMLVideoElement in order to connect the data received from the camera and play it in an easy way. This straightforward directive comes to the rescue and provides a typed HTMLVideoElement element.

This directive can be used in your component by just adding a small piece of code to the typescript file. Remember, if you want your <video> to be played by mobile browsers, you need to add the playsinline attribute to the HTML.

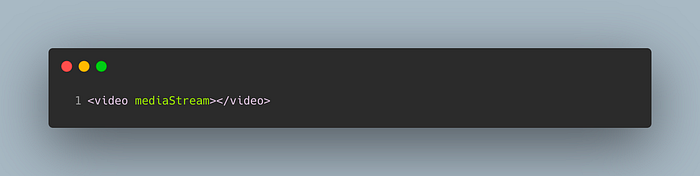
MediaStreamDirective
Now that we have typed-safe access to the camera using an Angular mechanism, it’s time to extend the previous directive in order to achieve our goal. As you can see in the selector definition, we are going to prevent the use of this directive only to <video> elements.
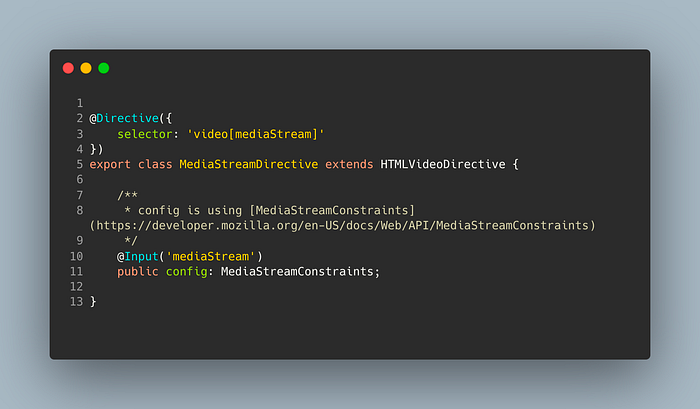
This directive is able to handle some configurations in order to connect the external device in a proper way. For doing that the input parameter is typed as a MediaStreamConstrains
The MediaStreamConstraints dictionary is used when calling getUserMedia() to specify what kinds of tracks should be included in the returned MediaStream, and, optionally, to establish constraints for those tracks’ settings.
Playing, Pausing and Stopping Video
For playing, pausing and stopping video is necessary to interact with the MediaStream API. The mechanism provided by this API to retrieve the element is called getUserMedia(). As part of the result we are going to be able to interact with every track requested, that is video, audio or both.
Here we are saving a reference to this object after accessing it through an observable, custom wrapper ´userMediaObs´ to the original Promise. Then, this reference will be assigned to the <video> element and start the streaming.
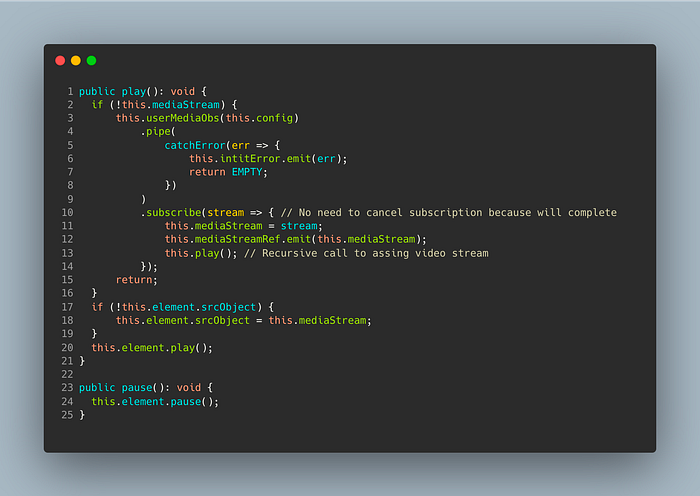
Pausing is direct using the pause’s method in <video>. But in case of stopping, it is necessary to stop each track returned by getUserMedia() and then clean up the variables.
Taking a Picture
For taking a picture of the displayed video in a given moment we are going to project the content of the <video> into a canvas. The size will be the same as the <video> node (or the ones provided by the consumer). After that, it is just a matter of transforming the information to data URI using toDataURL().

Recording a Video
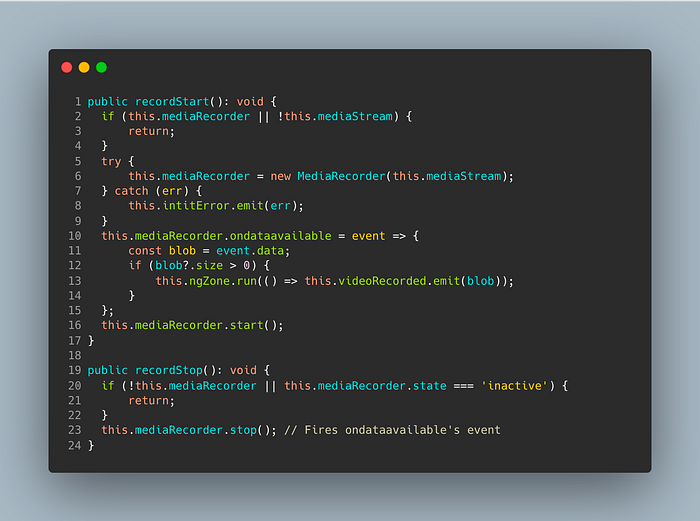
Recording a part of the streaming video is tricky because for this purpose, we will be using a native API (MediaRecorder) that unfortunately is not available in any browser (at the moment of writing this article).
The following code is inspired by one webRTC example but catching the error and throwing it through an Angular’s output, in case this API is not available. Note that ondataavailable callback will be fired only when the media recorder instance’s stop method is called. Due to the asynchronous execution of this method, the recorded video Blob will be outputted using an EventEmitter (previously guaranteeing the execution inside Angular’s Zone).
Using it
This directive can be used in your component by just adding a small piece of code to both HTML and typescript files.
Thank you for reading. It is possible that similar or completely different approaches will be found out there. But I find it very interesting and challenging to explore how powerful and straightforward directives are to solve this situation.
Full access to the code and demo can be found here:
